How-To Tuesday: Canvas Maps
/How-To Tuesday is back, baby!
And today's post comes to you courtesy of Creative Juices Decor. I saw this idea featured on Remodelaholic and knew it was exactly what I had been looking for. We have been wanting to put a map up in the basement and keep tabs on the Husband's travels, as well as our own, for quite some time now. In fact, we've had the map waiting for almost a year, with just no ideas of how to hang it. When I saw this post, it was perfect.
(Note: If you do decide to post your own tutorial, please link back to Creative Juices. This idea is all hers and she should get the credit for it. I am nothing, if not vigilant, when it comes to crediting others for their brilliant ideas. Please do the same.)
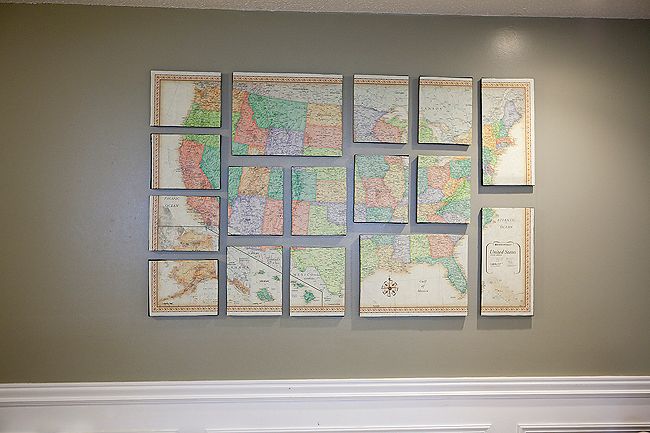
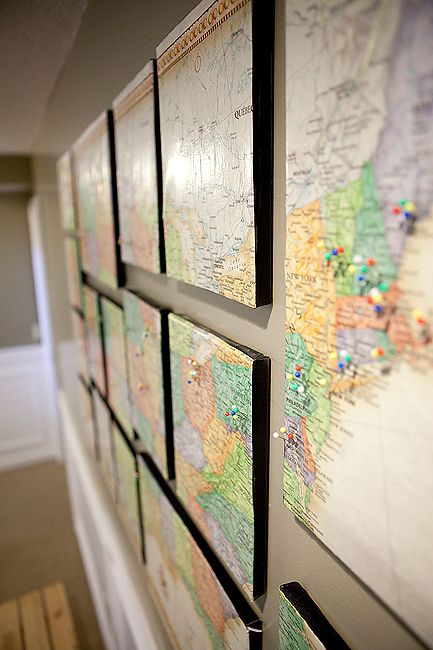
All right. Here we go. Our multi-canvased map:
I started by tasking the Husband with designing the layout. He created the masterpiece in our living room, and I knew this would be perfect for his spatial brain. My brain? Pretty much full of a combination of People Magazine, puppies, and diet coke. Not much room in there for the math. Lucky for me, he is really good at the math.
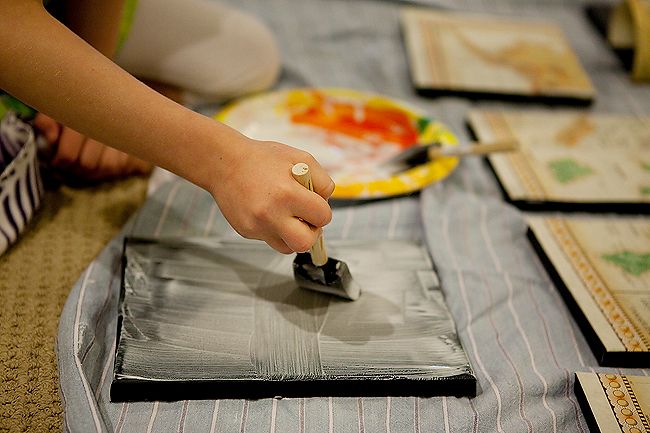
We measured our map, then bought the canvases to fit per his design. I spray painted the edges black, not worrying about the fronts at all (since they will be covered by the map).
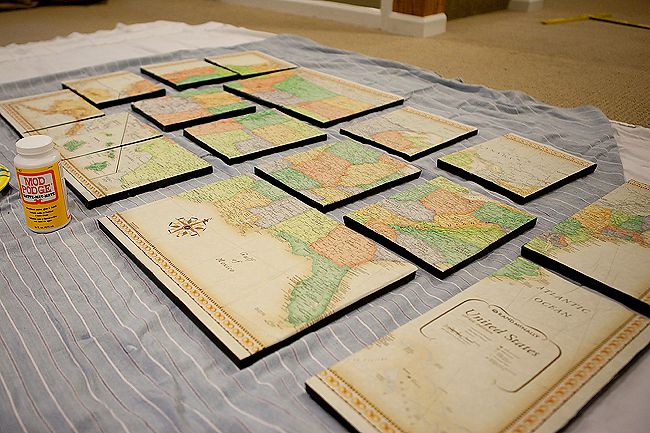
Once dry, I brought the canvases inside and laid the map over the top. I measured each canvas, and cut the map to fit each piece.
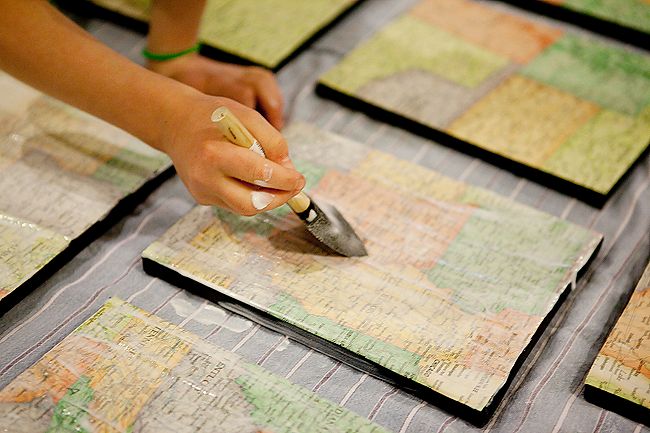
I then started to adhere the map pieces to the canvas with Mod Podge, and found a very eager little girl by my side. I silenced my inner Martha and let her help. After all, we were going to be sticking pins all over these maps. What damage could a child helper do?
She actually did great. She's much more craftily talented than her mother.
After the pieces were all attached with the Mod Podge, we left them to dry.
Once dried, we came back and applied another layer of Mod Podge. Then let it dry. And applied another.
[Not pictured: Since I knew we were going to be putting pins in these, I also cut a square of foam board and stuck it in the back of each canvas. I wanted the pins to have something to stick to, and this worked great. I simply hot glued the foam board in.]
Then the unhappy task fell to the Husband of getting the many pieces hung. This required a lot more of the math, plus a level, tape measure, and nails. He's slightly obsessed with never having any extra nail holes in the wall when he hangs things, and that makes it much more difficult (though efficient). It was a pain.
He's a good man. I'm totally keeping him.
Once hung, we started to put in pins for all the places we've been. Everyone got their own colored pin. The Husband's is red -- suffice to say, there are A LOT of red pins. The kids had fun helping and reliving vacation destinations. By the way, we only count a city/state if we've spent the night or had a purposeful meal there. Airports and drive-thru's do not count. Even still, we have been to a good number of states between the five of us.
And that's it! Super easy, visually interesting, and a fun way to keep tabs on our family travels.
Your turn. What can you teach me today?
Mister Linky's Magical Widgets -- Easy-Linky widget will appear right here!
This preview will disappear when the widget is displayed on your site.
For best results, use HTML mode to edit this section of the post.
This preview will disappear when the widget is displayed on your site.
For best results, use HTML mode to edit this section of the post.


