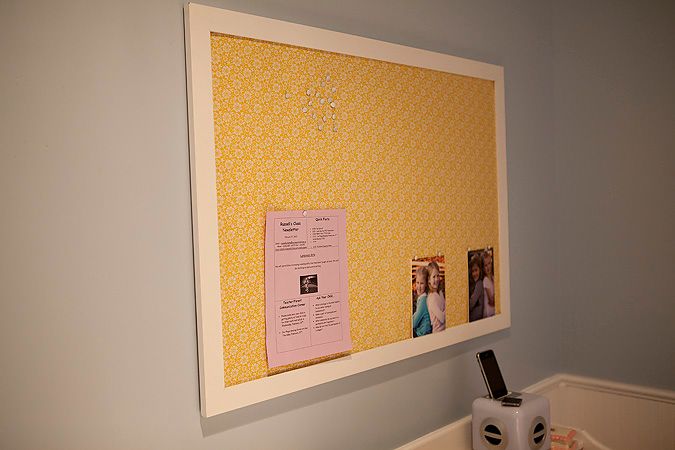
DIY Bulletin Board
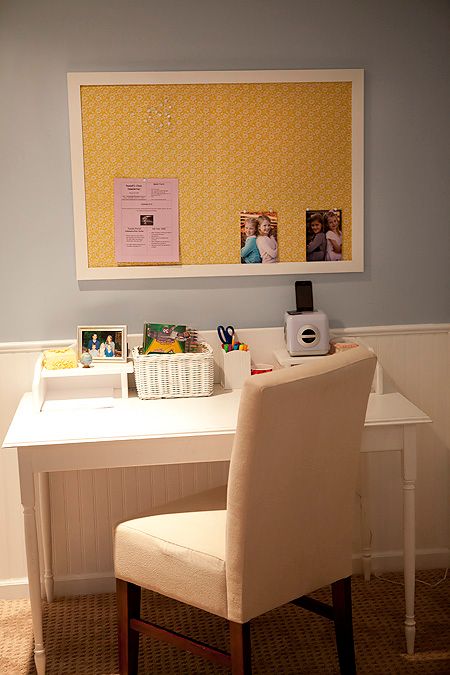
/Want to learn how to make this cute bulletin board in just a few easy steps, one which does not require a can of spray paint and costs less than $20?
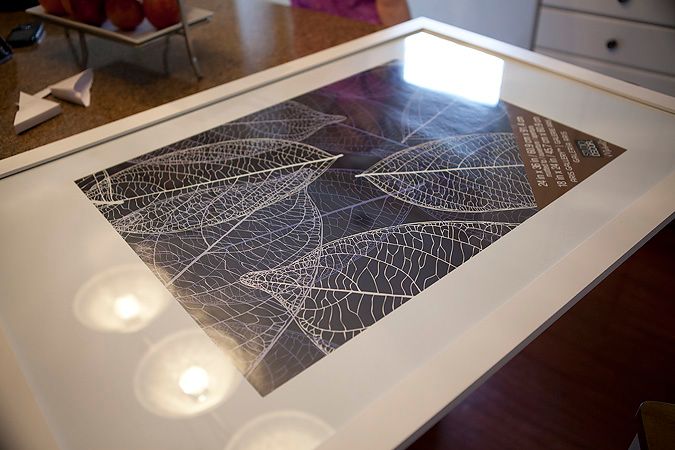
Step one: Buy a really ugly large print on clearance at Michael's or some other craft mecca. This one is 24x36. Large. And freakishly ugly. Unless black and white abstract leaves are your thing. In that case, never mind. You go back to enjoying your colorless, boring life full of leaves. And I'll try to stop judging you.
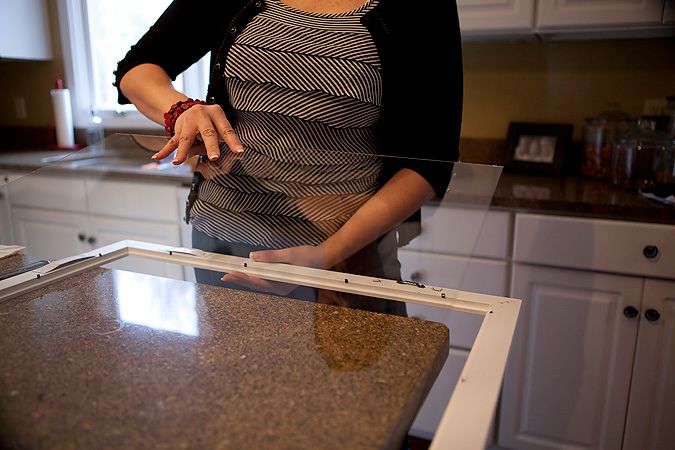
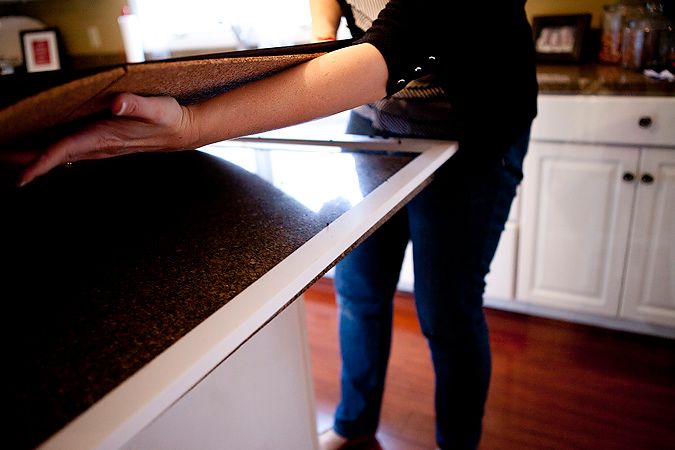
Step two: Remove the offensive, abstract leaf artwork, the accompanying mat, and, ever so carefully, the glass. Discard all of these items.
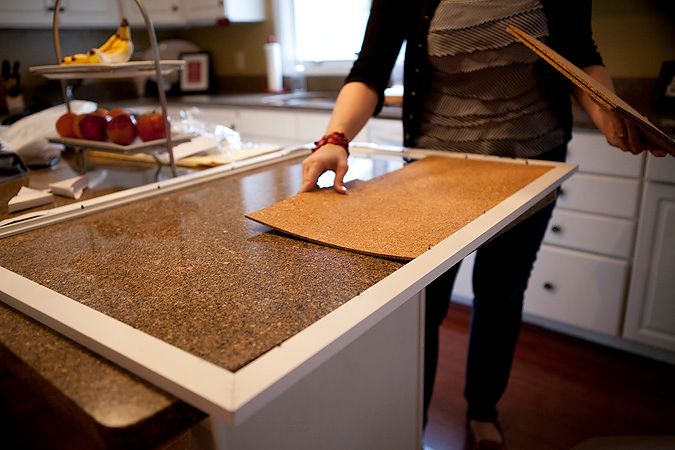
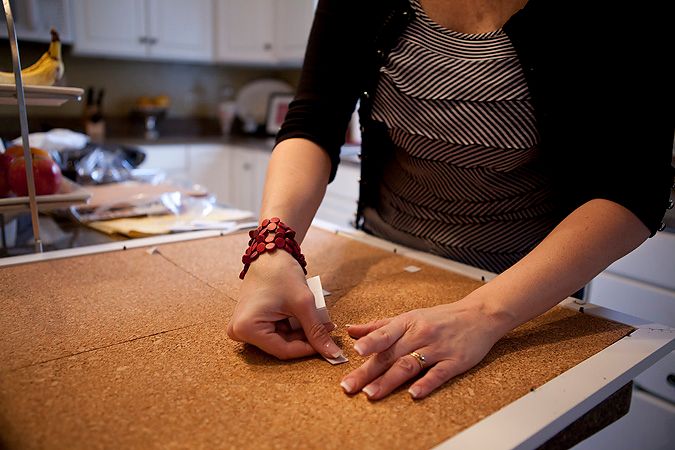
Step three: Insert 12x12 squares of cork board, also purchased at craft mecca. My print was a multiple of 12, so my squares fit evenly without having to cut any of the cork squares. If your frame is odd sized, just cut the cork to fit.
Step four: Using the double-sided tape tabs that come with the cork, secure all of the cork pieces to each other on the edge.
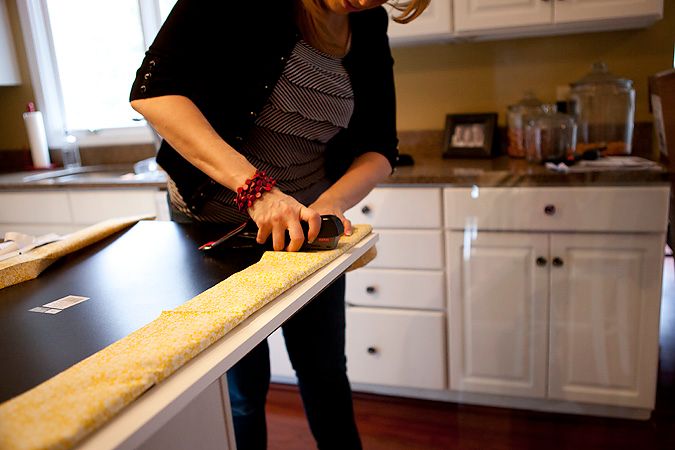
Step five: Using the thick backing that came with the print, flip over the newly joined cork squares. Lay fabric of your choice on a flat surface, and flip cork and backing over the top, with the cork facing down.
Step six: Pull tightly and staple edges of fabric to thick backing. I used a regular stapler because I'm
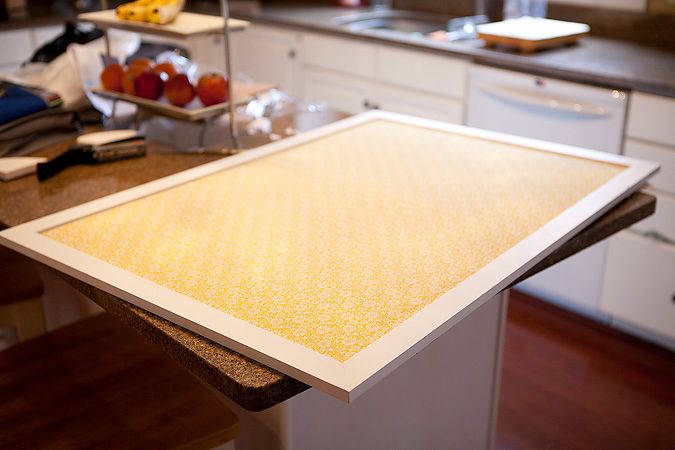
Step seven: Cut off excess fabric, and put inside your frame.
Step eight: Hang the bulletin board on your daughter's wall, and feel like an extreme crafter. Refuse to succumb to your husband's taunts about your lack of proper staple usage. Know deep down that your improper usage is what makes you awesome and distinguishes you from other DIYers and their fancy equipment.
Step nine: Stand back to admire your handiwork. Reward yourself with some chocolate and a diet coke.
Any questions?

